The Basics of WooCommerce - Setting Up a Store (w/ Pictures)
Creating an online store to sell your products might seem like a daunting task - but it doesn't have to be. One of the easiest and most popular ecommerce platforms that almost anyone can use is called WooCommerce.
WooCommerce is an open source extension for WordPress websites. No knowledge of code is required - WooCommerce makes it simple to run and manage an online store, as well as track your results.
If you're still not convinced, did you know that WooCommerce is the choice of over 35% of online stores?
So why is that number so high? Well, for a number of reasons...
Feature-Rich and Secure
WooCommerce automatically helps you set up the essentials of an online store, like a store page, a shopping cart, and checkout. It comes with a wealth of features that help you monitor your store’s performance and develop strategies to increase engagement and conversion.
If it doesn’t do what you want right out of the box, there’s likely a plugin or extension available that does.
Other features include custom shipping options both worldwide and national, as well as dropshipping. You can set up a number of online payment options like PayPal, Stripe, or others, as well as offline cash or check methods. Best of all, it’s built to handle both physical and digital goods.
WooCommerce also automatically downloads the latest updates to keep your website secure.
Easy to Use and Customizable
There are a huge range of themes available for WooCommerce - enough to fit whatever style suits your website. It’s also easy to integrate with other third party apps and services.
One of the main customization features comes in the form of extensions. When you log into WooCommerce for the first time, you’ll immediately be greeted with a range of options for extensions and plugins.
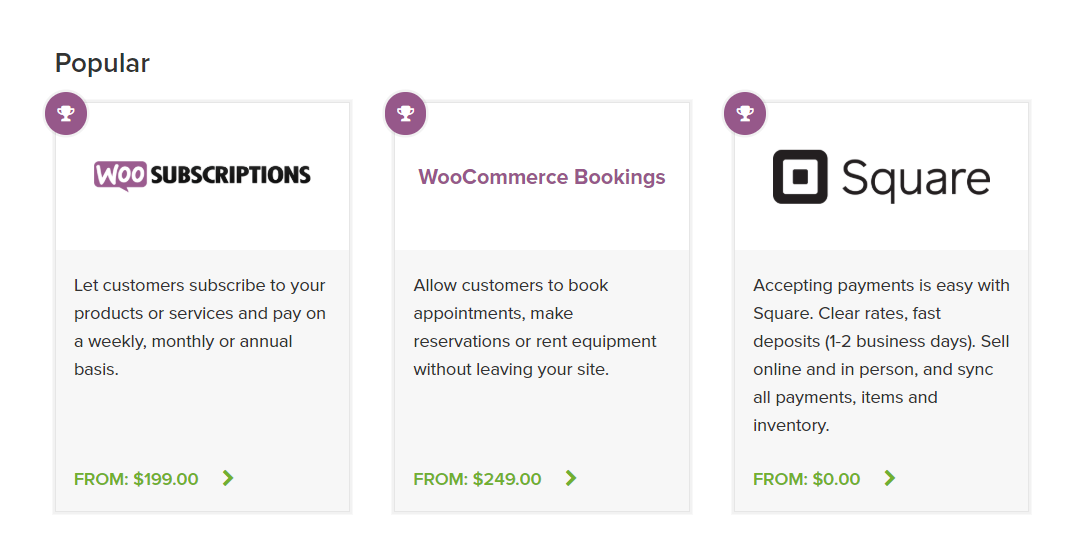
These options allow you to customize your website further with additional features, from additional payment options, to subscription models, to automatic invoices and packing slips. WooCommerce makes it easy to implement and maintain all of these.
There are enough extensions out there to fill dozens more articles, but, for now, we'll stick with what comes included in the basic WooCommerce package.
With the information above in mind, the benefits to using WooCommerce are obvious. Let’s dive in to how you can get the plugin installed onto your own Wordpress site and begin making sales as soon as possible.
Installation
Step 1
To get started, simply head to WordPress’s directory and download the plugin.
Or, to install it from your dashboard, navigate to WordPress Admin > Plugins > Add New and search for WooCommerce. Find the latest version and click the Install Now button. Once you have it installed, you should have an option to click “Activate”.
Step 2
Once you’ve activated WooCommerce, you’ll be prompted to get your page set up. You can skip this part of the process if you want - but by clicking “Let’s Go”, you can get a lot of the work out of the way up front and save yourself the trouble later on.
Step 3
Once you click “Let’s Go”, WooCommerce will automatically set up the first four essential pages you’ll need to run your online shop, including your Shop, Cart, Checkout, and Account pages. You’ll then be invited to choose the country or state that you’re based out of, as well as the currency and units for your products.
Step 4
The next step will depend on what sort of product you’re selling - if you’re shipping physical goods to customers, you’ll be prompted to select that box. Remember that you can also use your WooCommerce site to sell digital products.
Step 5
After you’ve finished the last step, you’ll be prompted to select how you want to receive your payments. There are a number of options available - PayPal and Stripe are the most popular, though you can also opt for offline cash or check payments.
That’s all it takes - your online store is now all set up and ready to be stocked with products!
Products
There will be two new tabs added to your dashboard - Products and WooCommerce. Your products tab handles your product settings, where the WooCommerce tab is for more general settings. To get started adding products, go to WordPress Admin > Products > Add Product.
Now you’ll be looking at a blank sample product page.
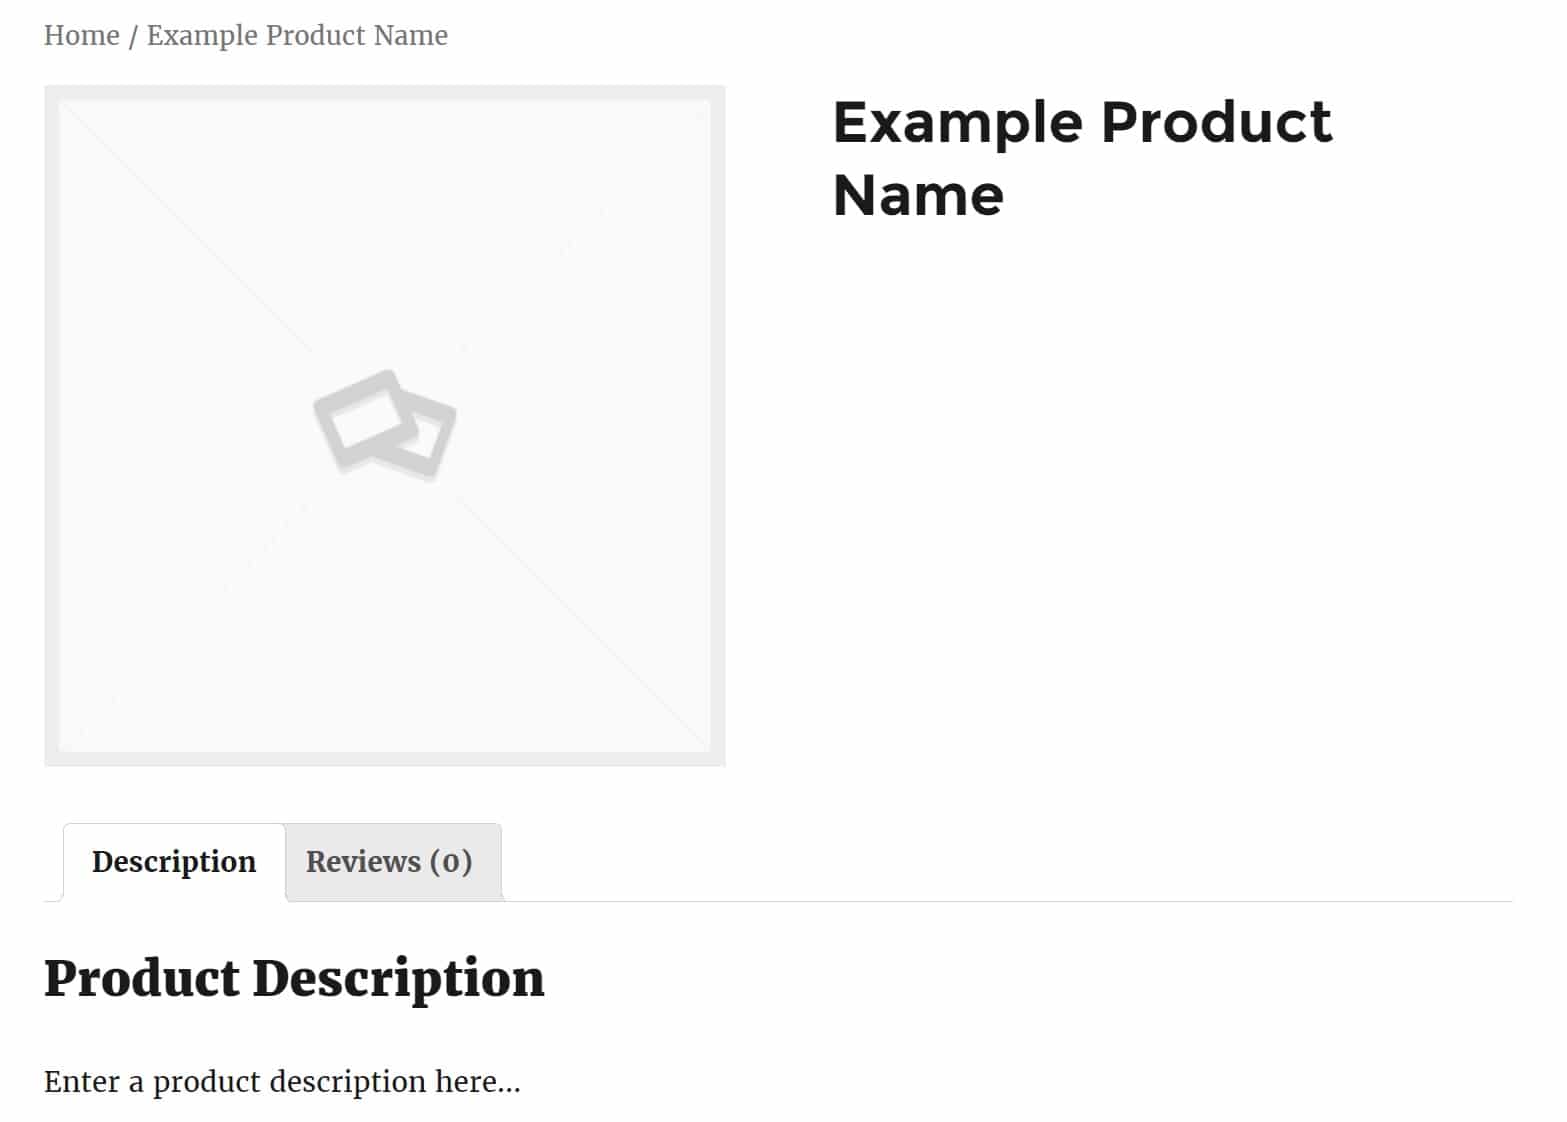
Note the element here: product data and product description. Now, unless you plan on selling the customer nothing at all (notoriously hard to market!), you’ll need to fill these out. Scroll down to the product data and short description widgets.
Product Data
You now have the option to select whether your product is virtual, which will remove the shipping tab. Here, you can also adjust the regular and sale price at your leisure. If your product is digital, you can upload it now and adjust download options as well as select what type of file it is.
In the Inventory tab, you can manage your stock by entering in the quantity of the product, whether it’s in or out of stock, and whether you’d like to allow backorders. If you mark the product as individually sold, only one can be purchased per order.
You can also upsell or cross-sell products with the Linked Products tab. Add Attributes to your product for customers who want to know more information. Other options in this page include enabling/disabling user reviews, entering purchasing notes, and choosing which order your products appear in.
Product Description
With the product data out of the way, you can get more into the front-end of things, and customize what the customer will see directly. The product short description box should be pretty familiar to you if you have experience with WordPress. The short tagline you type up will appear below the product on your store page.
While customers will want to know as much as possible about your product before purchasing, this short description should be limited to one sentence or so. It will have to be able to fit into a small product card that will display on your store.
Don’t worry - you’ll get a chance to include all the information you want in the full product description. This is what will appear under the image of the product once the user has clicked its corresponding card.
There’s no precise right way to write this product description, but here’s a few things to keep in mind to really nail it:
- Target your primary demographics. Understand what your audience is looking for. If you know what interests them and what they’ll respond to, it will make it that much easier to sell to them. The same product description won’t appeal to every person.
- Focus on tangible benefits the user will receive. Don’t just talk about what your product has - talk about what it can do for them. Highlight how your product will make their lives easier, or more stylish, or cooler.
- Use a distinctive voice. Avoid bland cliches - your brand should have a distinctive voice that’s instantly recognizable. If appropriate, have a little fun, use humor or breezy language. Customers will respond positively if they feel like there’s actually another person at the other end of the transaction.
- Keep it simple. Avoid jargon and other distracting language. Stay focused on keeping the description as simple for the layman to understand as possible.
Under this tab, you can also add tags, categories, and images.
Managing Your Products
As you add more and more products to your store, you can manage them in the Products tab. This should look like any other Categories page on a WordPress site, except with a list of products.
WooCommerce General Tab
Here, you can check out orders, coupons, and reports, as well as customize settings and extensions.
Orders
This screen shows the current status of orders for your shop. It will likely only be necessary if you’re dealing in physical goods.
Physical products will list their order status (pending payment, on hold, etc.)
You can also check out billing or shipping addresses, resend emails, add notes, change the content of the orders and other helpful features.
Coupons
The coupons tab allows you to create discount codes you can use in your marketing campaigns. You can set the type and amount, usage restriction, and expiration date here.
Reports
This is one of the most useful tools available to you through WooCommerce.
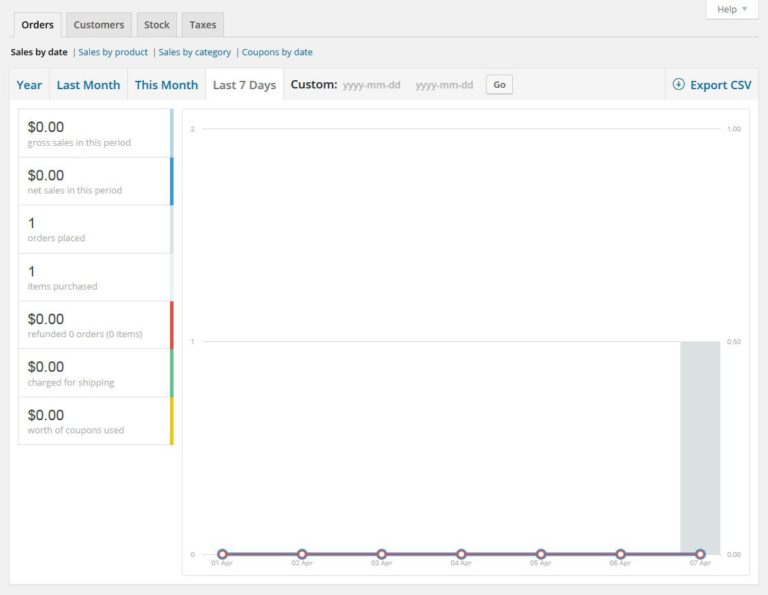
The reports tab automatically creates detailed summaries of almost all activity on your shop, from gross and net sales over periods of time to orders placed and items purchased.
Here, you can also check out customer sales, product stock, and taxes. You can export all of them in CVS format for your own bookkeeping purposes.
Settings
Here's where you can really control every aspect of your online store.
You’ll immediately notice the wealth of options available here. Don’t be overwhelmed - there’s a lot here that you might never even need to use.
Let’s take a look at some of the options available from the settings menu...
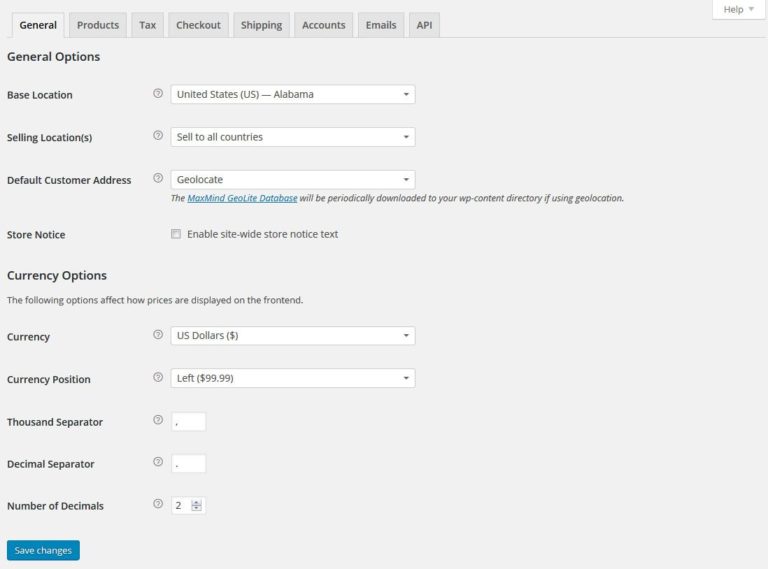
General
- Location: Set the base location of your store, choose worldwide shipping or only specific countries, and create example address details for customer reference
- Store Notice: Display a specific message to all visitors on the site
- Currency: Set the currency you will use, thousand separator, decimal settings
Products
- General: Change weight, dimensions, product reviews, ratings, and who can leave them
- Display: The visual layout of the product page - product order, shopping cart behavior, image dimensions, and whether or not to display categories
- Inventory: Set how long you want to hold unpaid orders, enable or disable stock management, receive notifications for low-running stock and inventory display
- Downloadables: As mentioned above, set your file download delivery, file type, and set up restrictions
Tax
- Tax Options: Enable and disable taxes, depending on where you’re located, determine whether to use net or gross prices, configure product and shipping tax calculation method, set up rounding method, and configure how your price is displayed in the shop
- Standard Rates: Set up different tax rates to use in your shop
- Reduced Rates: Set up reduced rates in your shop
- Zero Rate Rates: Set up tax-free items in your shop
Checkout
- Checkout Options: Customize coupons, enable/disable guest checkouts, configure terms and conditions, define checkout endpoints and available payment gateways
- BACS: Enable/disable bank wire transfers
- Checks: Set up check payment options
- Cash On Delivery: Set up cash payment options
- PayPal: Set up PayPal payment options
- Simplify Commerce: Set up Simplify payment options
Shipping
- Shipping Options: Define how your store calculates shipping costs, set shipping and billing addresses, and set up shipping locations/methods
- Flat Rate: Set up fixed rate shipping
- Free Shipping: Set up options for free shipping
- International Flat Rate: Configure fixed rate shipping for overseas orders
- Local Delivery: Set up local delivery options if applicable
- Local Pickup: Set up options for local pickup if applicable, i.e. which customers are eligible for local pickup, etc.
Accounts
- Account Options: Determine when and how users view their account info, define identifiers for different actions on the same page, enable customer registration and whether to automatically generate user names and passwords
Emails
- Email Options: Configure the emails sent when customers complete a purchase, when emails are sent, sender names and addresses, and different checkout notifications
System Status
The System Status section is another tab that allows you to monitor stats on your site.
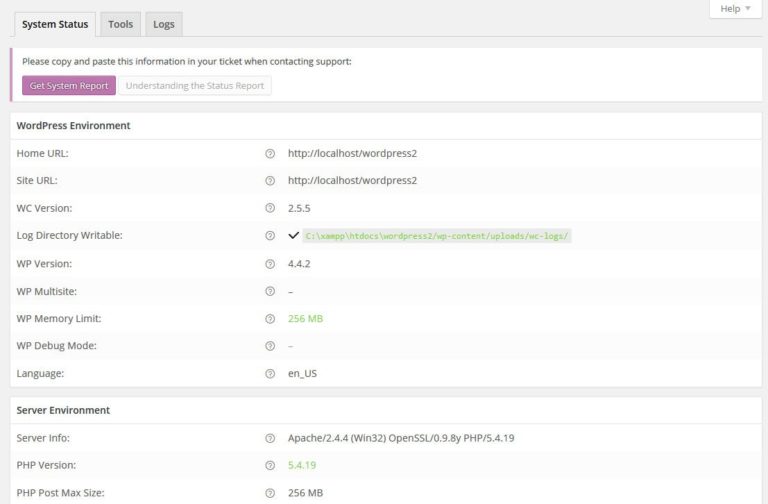
It’s a little different from the Reports tab mentioned above, though. This is more for under-the-hood stuff like memory limit and general performance of your shop across different platforms. You can also use tools like debugging and resetting cached data to iron out any kinks that might come up in your site’s performance.
Conclusion
Of course, no amount of fancy bells and whistles and easy interfaces are a replacement for a solid product. But with so many easy-to-use and flexible features, it’s easy to see why WooCommerce is the go-to option for so many people looking to sell their products online.
Hopefully, this article has given you a basic idea of the features available to you when you venture into the world of running an online store.
In a future article, we’ll go over how you can even further customize your online shop with Proof Factor’s favorite plugins and extensions. But even the plain vanilla WooCommerce already comes loaded with a plethora of features to help you get started. In no time, you’ll be selling your products with ease - no technical knowledge needed.